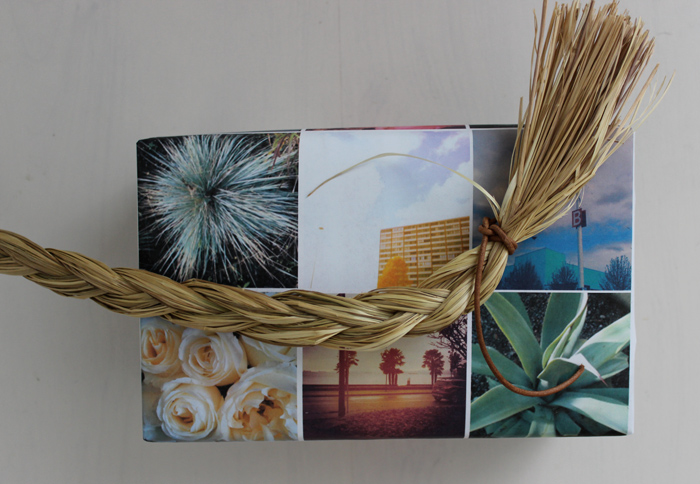
Making wrapping paper for special ocassions is one of my favourite things to do. In fact I have featured a few I've made in the past, here, here and here. And so this Mother's Day I thought to not only share another, but to show you how I make them. It's fairly simple if you're familiar with Illustrator (my adobe app of choice), but could be translated using photoshop as well. In fact it's so simple, it might not even be a real tutorial. But here it goes!
To start: Pick 12 complimentary instagram images for this type of layout (to fit an 8.5" x 11" portrait paper size). I opened up my feed online - instagram.com/poppytalk/# and then went to each image I wished to download to my desktop, and copied each to my desktop. Most people probably know how to, but just in case; go to each image, hit control-click (mac) or right-click (pc), then click on "View Background Image" which will open the image to a new page and then control-click "save image as" to save to your desktop.
Once you've downloaded your 12 images. Re-size each image to 200 pixels wide. I've created a script in photoshop to make this step faster. First off, make two file folders on your desktop. Name one "untitled folder" and another "untitled folder 2". Put all the instagram images from your desktop into the "untitled folder". Then, in photoshop - click on "File", then click on "Scripts", then click on "Image Processor".
A window will appear (see below). Under Step 1 - Select the images to process - click on "Select Folder" which will open up a "choose a folder" and choose "untitled folder"(the folder you just made). Then in Step 2 - Select location to saved processed images, click on "Select Folder" and choose "untitled folder 2"(the other file folder you just made). Step 3 - File Type Select Save as Jpeg and Resize to Fit. Under W: Enter 200 px and Under H: Choose 300 or higher (to give enough space in case your saved image isn't exactly square).. Then click Run. And wait for the script to run. Which will save all of your files to 200 pixels wide.
Once all your files have been saved to 200 wide. Open Illustrator. Then open File, New. Choose letter size to make a letter size piece for your wrapping paper. If you want your wrapping paper to be larger and you have a larger printer that prints legal or 11"x17" then of course use those to make a larger piece of wrapping paper. After you have chosen your size, and in this case we are using letter, choose the portrait orientation and hit o.k. Then start to place your images in side by side. I do this by opening up the file folder which has my newly resized images in it (e.g. "untitled folder 2") and then just click and drag them onto my page. But you can also of course use the "file", "place" selection. And then I just start to line each one up giving a little space in between each other as a border.
Continue to drag and place each image into the 8.5"x11" space. You will find when you get to the last three at the bottom they will be cut off a bit (which is the way it's supposed to be).
And then you are basically done! (I told you it was simple!) Then just save the file as a pdf so that it makes if faster and easier to print. Plus you can then share it if you wish to.
If you wish to use mine, feel free to download it here (for personal use only of course). I have used everything from vintage images as well as family photo's to make it more personal for this type of project.
You might also like this paper I made for mother's day a few years back. The blossoms one compliments the instagram one quite well. All photo's taken by me. And there you go! Happy instagram wrapping paper making!
Update: I made some Mother's Day + Blank Gift Tags to finish the set. Click here to download!


